Procedure 1
Step 1 Press “Windows key +X”, and click on “control panel”;
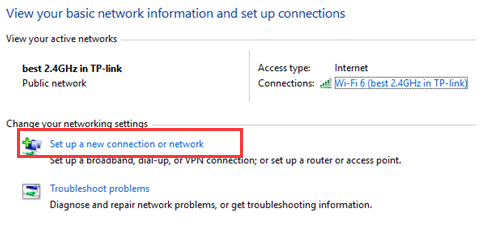
Step 2 Then go to Network and Internet->View network status and tasks page.

Step 3 Click on Set up a new connection or network.
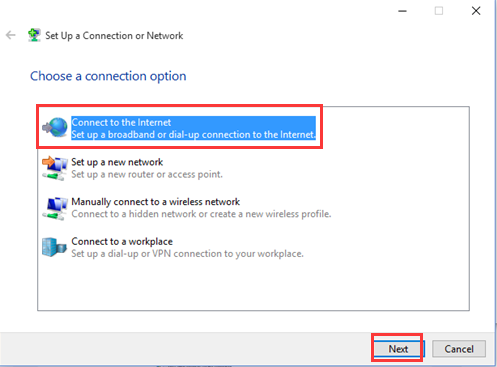
Step 4 Select Connect to the Internet and click Next button.
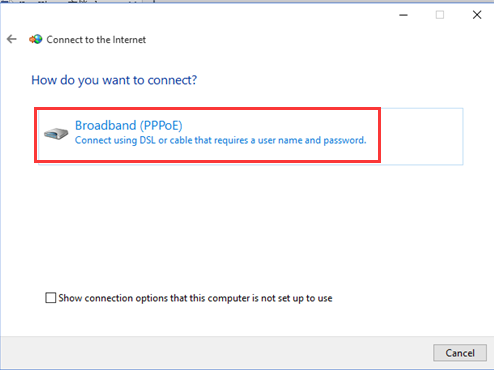
Step 5 Click on Broadband (PPPoE).
Step 6 Type in the information from you ISP. Please make sure all these information is correct. And then, click Connect button.
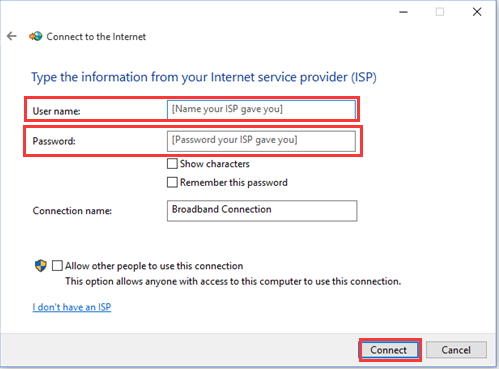
If all your information is correct, you may get the window below and you can surfing the Internet
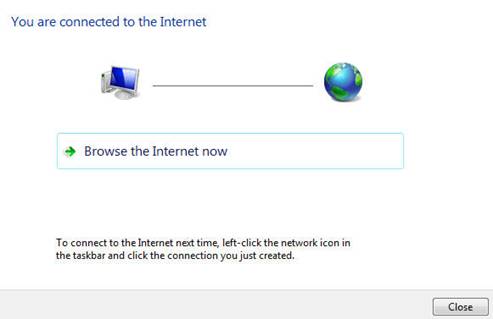
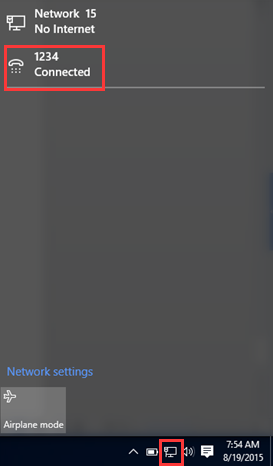
Step 7 At this, you have created a PPPoE dial up connection successfully. At the right side corner of your screen, click the same icon which looks like a computer, you can see a Broadband Connection. You can disconnect or connect through the broadband connection.
Procedure 2
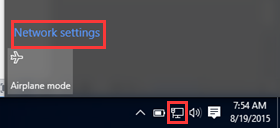
Step 1 Click the computer icon at the lower right corner in the task tray, and click on “network settings”;
Step 2 Please choose “Dial-up” and click on “Set up a new connection”;
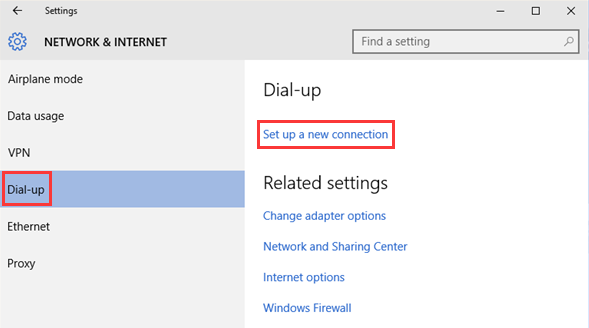
After that, you will see the same page with the Step 4 of the Solution 1. Please go the same process to set up PPPoE connection.
If you experience any problems, contact technical support at +8801744524808
